

User schema: the same handful of definitions turn up in every specification you write. The Component Library is where they live once. Each entry is an ordinary OpenAPI component object, and any specification in the project can point at it with a $ref.
There is exactly one library per project, shared by every specification in it. Find it under Components Library in the API Design sidebar panel, below Specs. The section starts collapsed, so click the header to open it.
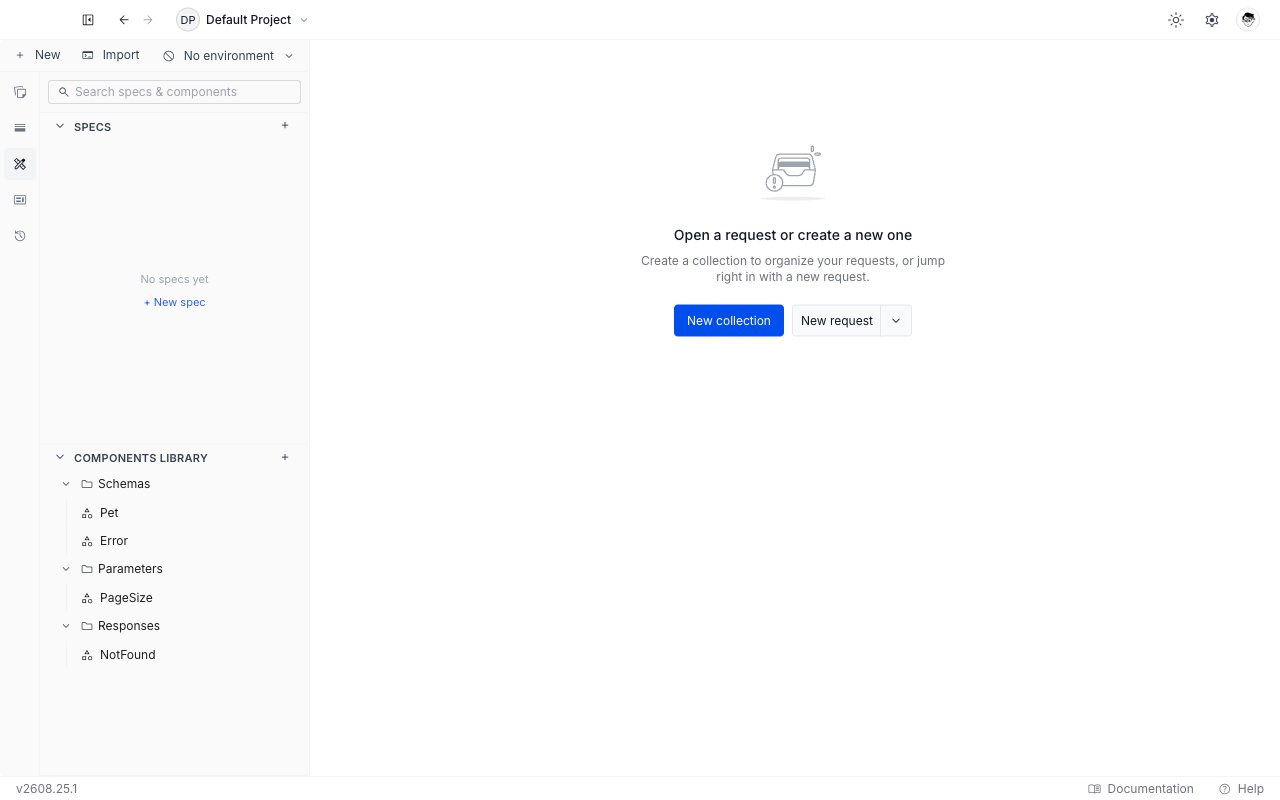
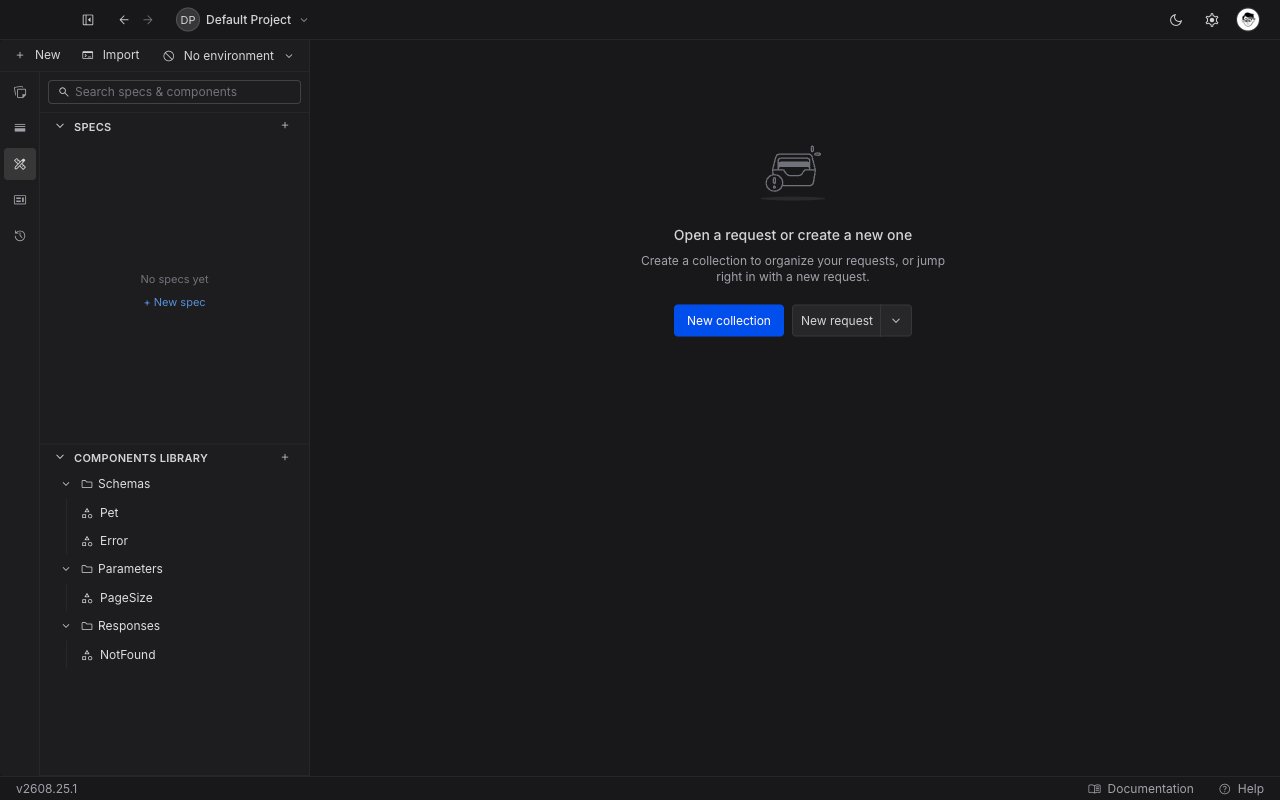
Categories
Entries are grouped by category, and the categories are OpenAPI’s own. All ten are available.Path items are an OpenAPI 3.1 feature, and referencing one is currently flagged as an error in a 3.1 document rather than in a 3.0 one. Treat that diagnostic as a known rough edge, not as a problem with your reference.
Create a component
1
Pick a category
Click the 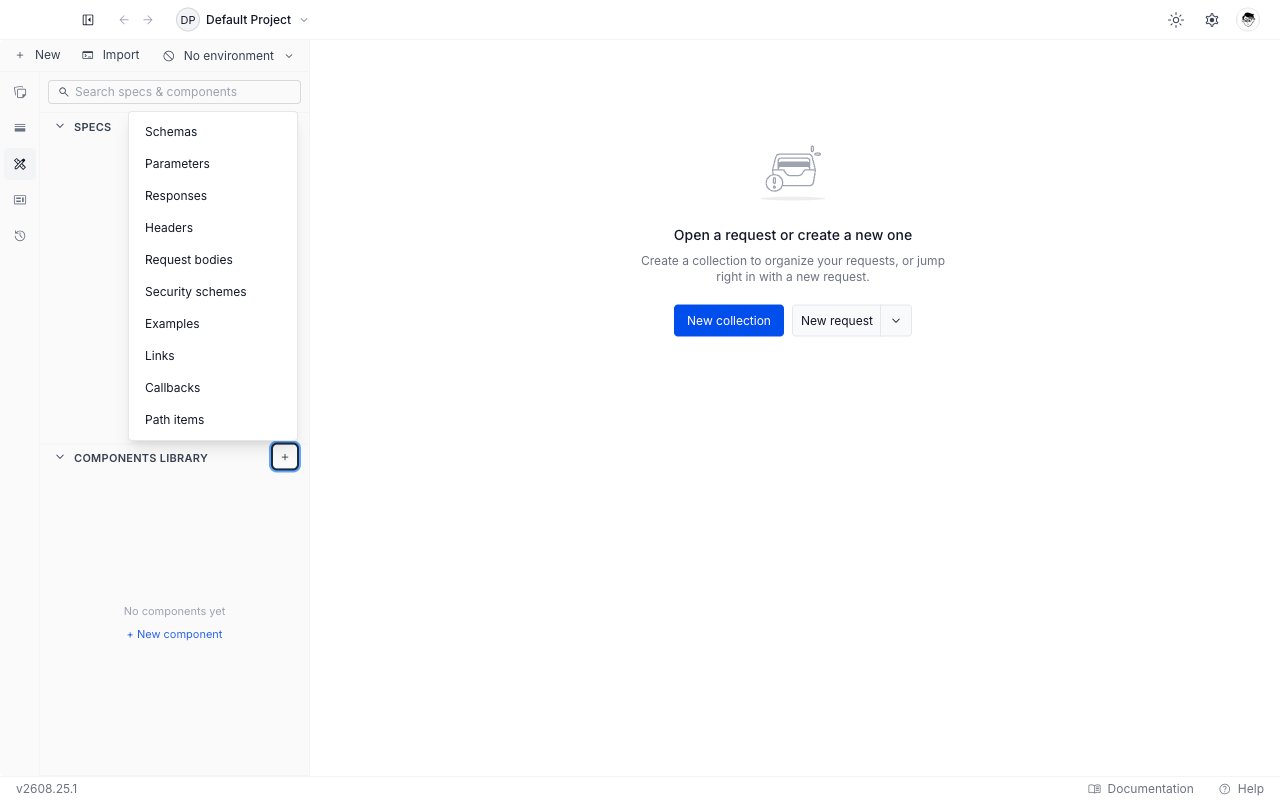
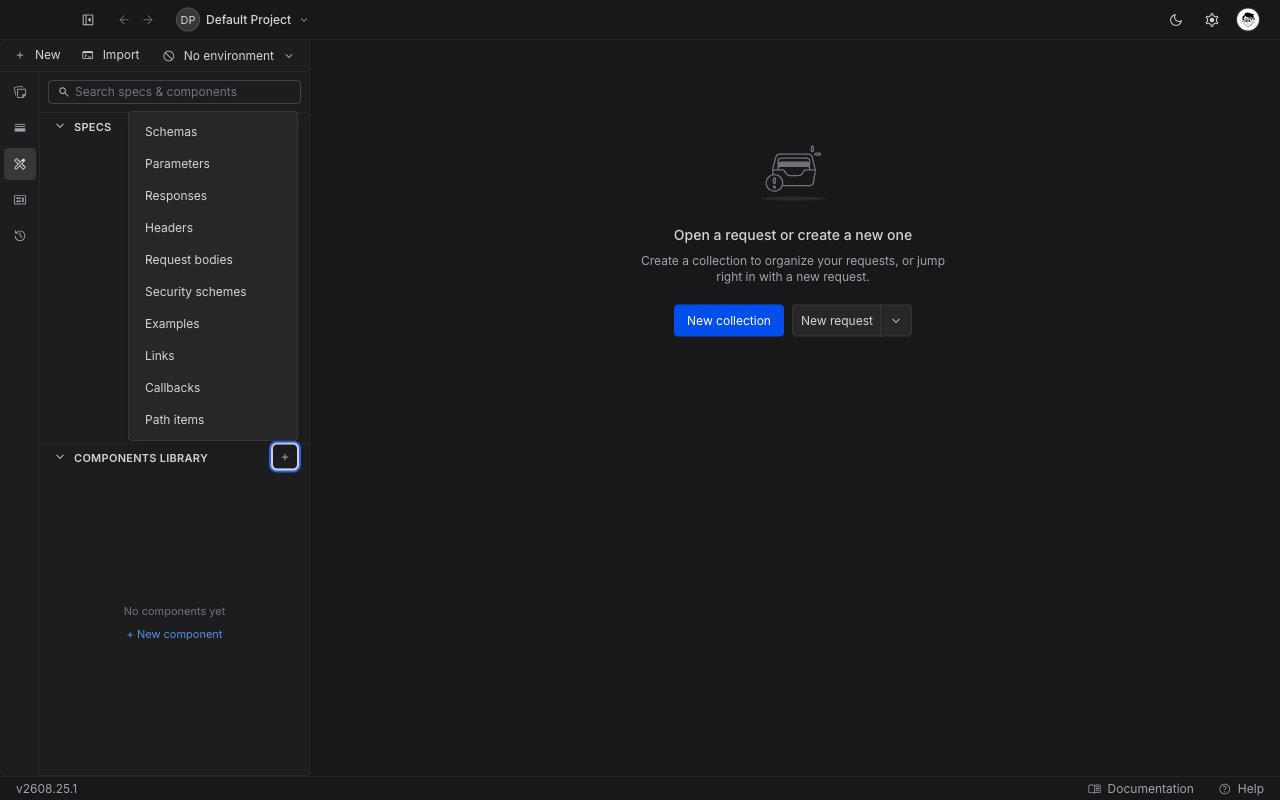
+ on the Components Library header and choose a category from the menu. Once a category has entries it gets its own group row, and you can hover that and click the + there to go straight into it. Empty categories are not shown, so the header menu is the only route to a category’s first entry.The same menu is on + New → Component in the sidebar toolbar.2
Name it
The component opens in a new tab with its name focused in the breadcrumb. Type a name and press Enter.A name may use letters, digits, dots, hyphens, and underscores, up to 128 characters. It has to be unique within its category, and it is case sensitive:
User and user are two different schemas, which is what OpenAPI itself does.3
Write the body
The editor is seeded with a minimal valid object for the category you chose, so you are editing rather than starting from nothing. A new schema arrives as:Write the component object only. There is no
components: wrapper and no name key inside the body: the name is the entry’s name in the sidebar.4
Save
Press
Cmd/Ctrl + S or click Save. A • unsaved marker sits beside the name until you do.The component editor
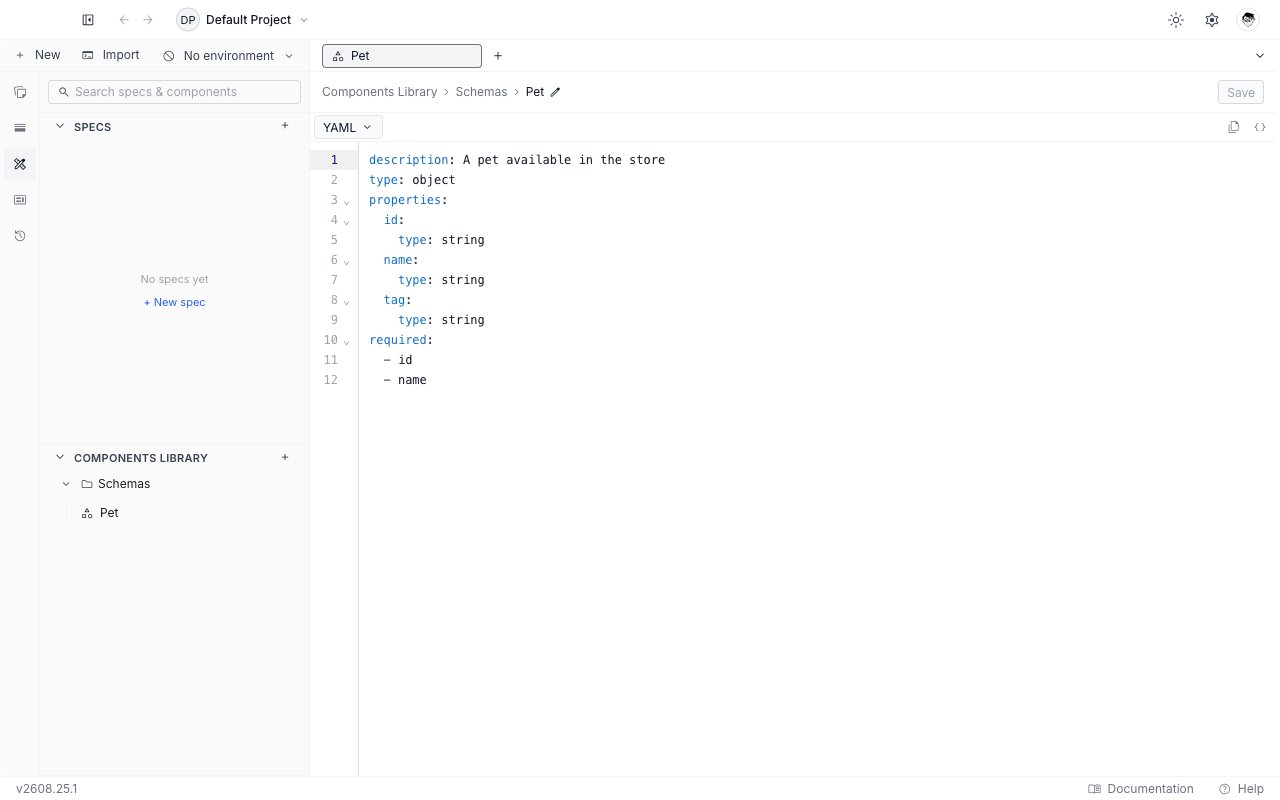
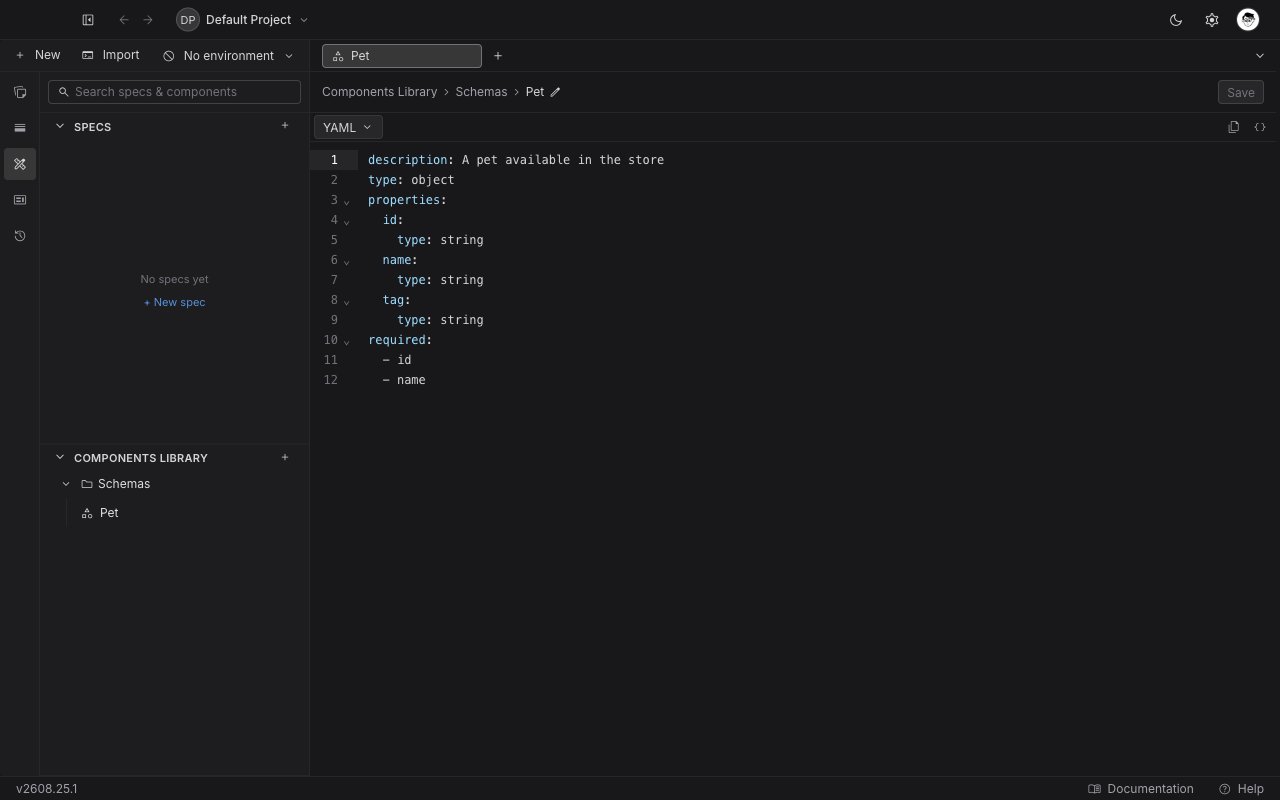
$ref completion works here too, so a component can reference another component. A NotFound response that points at an Error schema is written exactly the way a specification would write it.
Reference a component from a specification
In the specification editor, type$ref: and pick the entry from the list. Library entries are labelled library in the right-hand column, and selecting one writes the path for you:
Cmd/Ctrl + click it to open that component in its own tab. See create and edit a specification for the rest of the $ref behaviour.
When a reference does not resolve
Requestly checks every reference against the library and flags the ones that fail, both inline in the editor and in the Issues panel.
Full triage, including the governance rules that run alongside these checks, is in issues and governance.
Rename or delete
Both are on the entry’s⋯ menu in the sidebar, and renaming is also available by clicking the name in the breadcrumb.
Renaming changes the path every reference uses, so references written against the old name stop resolving and are flagged in the specifications that hold them. Deleting asks you to confirm and warns that references to the entry will break. Neither can be undone.
In a local project, library entries are files on disk under components/<category>/, so a rename or a delete is a change you can review and commit like any other. Commit the project’s .requestly/ folder too: each entry has a metadata file there, and an entry whose metadata is missing is skipped silently rather than reported.